Portal customization
Note
The portal is the visible part of LemonLDAP::NG, all user interactions are displayed on it.
Main Logo
You can change the default Main Logo in Manager: General Parameters > Portal > Customization > Main logo.
A blank value disables Main logo display.
Tip
Logo files must be stored in lemonldap-ng-portal/site/htdocs/static/my/path directory
Logo file path must be like my/path/logo.png
Main logo is included in Portal templates AND mail body
Show languages choice
You can disabled languages choice in Manager: General Parameters > Portal > Customization > Show languages choice.
Option enabled by default.
Tip
If languages choice is disabled, Portal displays accepted languages by your browser (EN by default).
Custom CSS file
You can define a custom CSS file, for example custom.css, which will
be loaded after default CSS files. This file must be created in the
static repository
(/usr/share/lemonldap-ng/portal/htdocs/static/bootstrap/css).
Then set this value in Custom CSS parameter:
bootstrap/css/custom.css.
CSS file example to remove white background of main logo:
#header img {
  background-color: transparent;
}
Skin
LemonLDAP::NG is shipped with a bootstrap skin.
But you can provide your own. See Skin customization below.
Default skin
You can change the default skin in Manager: General Parameters >
Portal > Customization > Default skin.
Select the Custom skin, then set the name of the skin you want to
use in the input below.
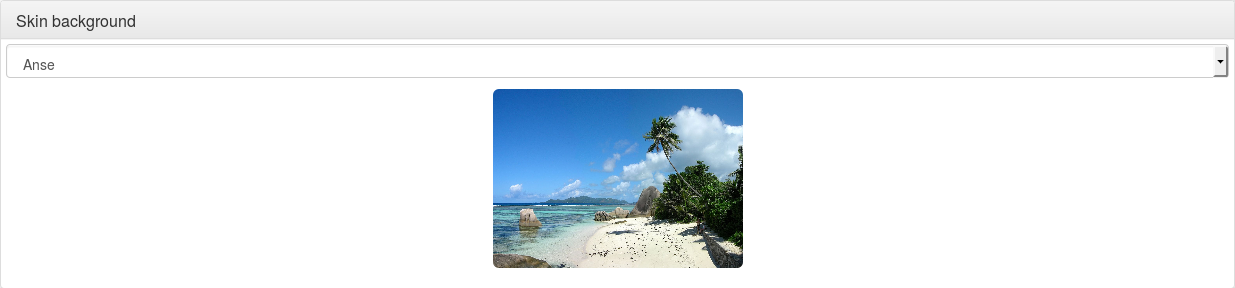
Skin background
Go in General Parameters > Portal > Customization >
Skin background. You can define a background by selecting one of the
available image. Select None to use the default skin background configuration.
To set your own background, copy your file in
/usr/share/lemonldap-ng/portal/htdocs/static/common/backgrounds/ and
register it in /etc/lemonldap-ng/lemonldap-ng.ini:
[portal]
portalSkinBackground = file.png
You can also use lemonldap-ng-cli:
/usr/share/lemonldap-ng/bin/lemonldap-ng-cli set portalSkinBackground file.png
Skin rules
You might want to display different skin depending on the URL that was called before being redirected to the portal, or the IP address of the user.
To achieve this, you can create a rule in the Manager: select
General Parameters > Portal > Customization >
Skin display rules and click on “New entry”. Then fill the two fields;
Key: a Perl expression (you can use
%ENVhash to get environment variables, or$_urlto get URL called before redirection, or$ipAddrto use user IP address). If the rule evaluation is true, the corresponding skin is applied.Value: the name of the skin to use.
Example:
`
$_url =~ m#^http://test1.example.com#
`
Skin files
A skin is composed of different files:
.tpl: Perl HTML::Template files, for HTML content
.css: CSS (styles)
.js: Javascript
images and other media files
A skin will often refer to the common skin, which is not a real
skin, but shared skin objects (like scripts, images and CSS).
Skin customization
Attention
If you modify directly the skin files, your modifications will certainly be erased on the next upgrade. The best is to create your own skin, based on an existing skin.
Here we explain how to create a new skin, named myskin, from the
bootstrap skin.
First copy static content:
cd /usr/share/lemonldap-ng/portal/htdocs/static
mkdir myskin
cd myskin/
cp -a ../bootstrap/js/ .
cp -a ../bootstrap/css/ .
mkdir images
Then create symbolic links on template files, as you might not want to rewrite all HTML code (else, do as you want).
cd /usr/share/lemonldap-ng/portal/templates/
mkdir myskin
cd myskin/
We include some template files that can be customized:
customhead.tpl : HTML header markups (like CSS, js inclusion)
customheader.tpl : HTML code in the header
customfooter.tpl : HTML code in the footer
customLoginHeader.tpl : HTML code in the login header
customLoginFooter.tpl : HTML code in the login footer
To use custom files, copy them into your skin folder:
cp ../bootstrap/custom* .
Then you can add your media to myskin/images, you will be able to
use them in HTML template with this code:
<img src="<TMPL_VAR NAME="STATIC_PREFIX">myskin/images/logo.png" class="mx-auto d-block" />
To change CSS, two options:
Edit myksin/css/styles.css and myskin/css/styles.min.css
Create a new CSS file, for example myskin/css/myskin.css and load it in customhead.tpl:
<link href="<TMPL_VAR NAME="STATIC_PREFIX">myskin/css/myskin.css" rel="stylesheet" type="text/css" />
Put then all custom HTML code in the custom template files.
To configure your new skin in Manager, select the custom skin, and enter your skin name in the configuration field. For example with lemonldap-ng-cli:
/usr/share/lemonldap-ng/bin/lemonldap-ng-cli -yes 1 set portalSkin 'myskin' portalSkinBackground ''
You can find additional documentation on the syntax of template files in the official documentation of the HTML::Template module
Messages
Messages are defined in source code. If they really do not suit you, override them! You just need to know the ID of the message (look at Portal/Main/Constants.pm).
There are two methods to do this:
Use
lemonldap-ng.ini:
[portal]

# Custom error messages
error_0 = Big brother is watching you, authenticated user

# Custom standard messages
msg_lastLogins = Your last connections
You can also define messages in several languages or disable message
boxes by using the bareword _hide_ :
error_en_0        = Big brother is watching you, authenticated user
error_fr_0        = Souriez, vous êtes surveillés !
msg_fr_lastLogins = Dernières connexions
error_9           = _hide_
Create a lang file in custom skin:
If you have a custom skin, then you can create a lang file in
templates/<your skin> similar to the default lang files provided in
htdocs/static/languages/.
For example templates/myskin/en.json:
{
"PE9":"Please authenticate!"
}
You can also create a file called all.json to override messages in
all languages.
Template parameters
Template parameters are defined in source code. If you need to add a
template parameter for your customization, then add to
lemonldap-ng.ini:
[portal]

# Custom template parameters
tpl_myparam = world
Then you will be able to use it in your template like this:
Hello <TMPL_VAR NAME="myparam">!
All session variables are also available in templates, with the prefix
session_:
Hello <TMPL_VAR NAME="session_cn">!
You can also display environment variables, with the prefix env_:
Your IP is <TMPL_VAR NAME="env_REMOTE_ADDR">
Buttons on login page
This node allows one to enable/disable buttons on the login page:
Check last logins: display a checkbox on login form, allowing user to check his login history right after opening session
Register new account: display a link to register page (for password based authentication backends)
Reset your certificate: display a link to reset certificate page (for password based authentication backends)
Reset password: display a link to reset your password page (for password based authentication backends). Number of allowed retries can be set (3 times by default)
Max reset password retries: number of retries allowed for resetting password
Password management
Require old password: used only in the password changing module of the menu, will check the old password before updating it
Hide old password: used only if the password need to be reset by the user (LDAP password policy), will hide the old password input
Send mail on password change: send a mail if the password is changed from the Menu, or from forced password reset (LDAP password policy)
Allow to display password: if enabled, a small icon in the password field is added and when users click on it, the password value is revealed. Disabled by default.
Password Policy
Tip
Available since version 2.0.6
Activation: enable/disable password policy. You can set a rule to enable policy for specific users only
Display policy in password form: enable this option to display an information message about password policy constraints
Minimal size: leave 0 to bypass the check
Minimal lower characters: leave 0 to bypass the check
Minimal upper characters: leave 0 to bypass the check
Minimal digit characters: leave 0 to bypass the check
Minimal special characters: leave 0 to bypass the check
Allowed special characters: set ‘__ALL__’ value to allow ALL special characters. A blanck value forbids ALL special characters (Note that
_is not a special character)
Other
User attribute: which session attribute will be used to display
Connected asin the menuNew window: open menu links in new window
Anti iframe protection: Set
X-Frame-Optionsand CSPframe-ancestorsheaders (see Browser compatibility)Ping interval: number of milliseconds between each ping (Ajax request) on the portal menu. Set to 0 to dismiss checks.
Show error on expired session: display the error “Session expired”, which stops the authentication process. This is enabled by default but can be disabled to prevent transparent authentication (like SSL or Kerberos) to be stopped.
Show error on mail not found: display error if provided mail is not found in password reset by mail process. Disabled by default to prevent mail enumeration from this page.
Display rights refresh link: enable/disable link in Portal menu to allow users to refresh their rights